Creating your first event
A timeline is composed of a series of events. At its simplest, an event is something that happens at a particular time for a given duration. They also have a number of optional properties, including notes, tags (keywords), relationships with people and places, and other user-defined fields.
Events are represented graphically on the timeline with their title, color, date and duration. Tapping on an event will open the inspector to show the additional information.
An empty timeline is not much good to anyone, so let's start filling it up with events.
1
Tap on the 'Add Event' button in the Side Bar on the left of the screen.
2
A new event will be added with a date at the center of your current view. The event will be selected automatically, and the inspector will open so you can edit information about the event. 
Type a title for the event and close the keyboard.
3
You can modify other fields by tapping on them in the Inspector. Tap on the color shows a popover to let you pick a new one. 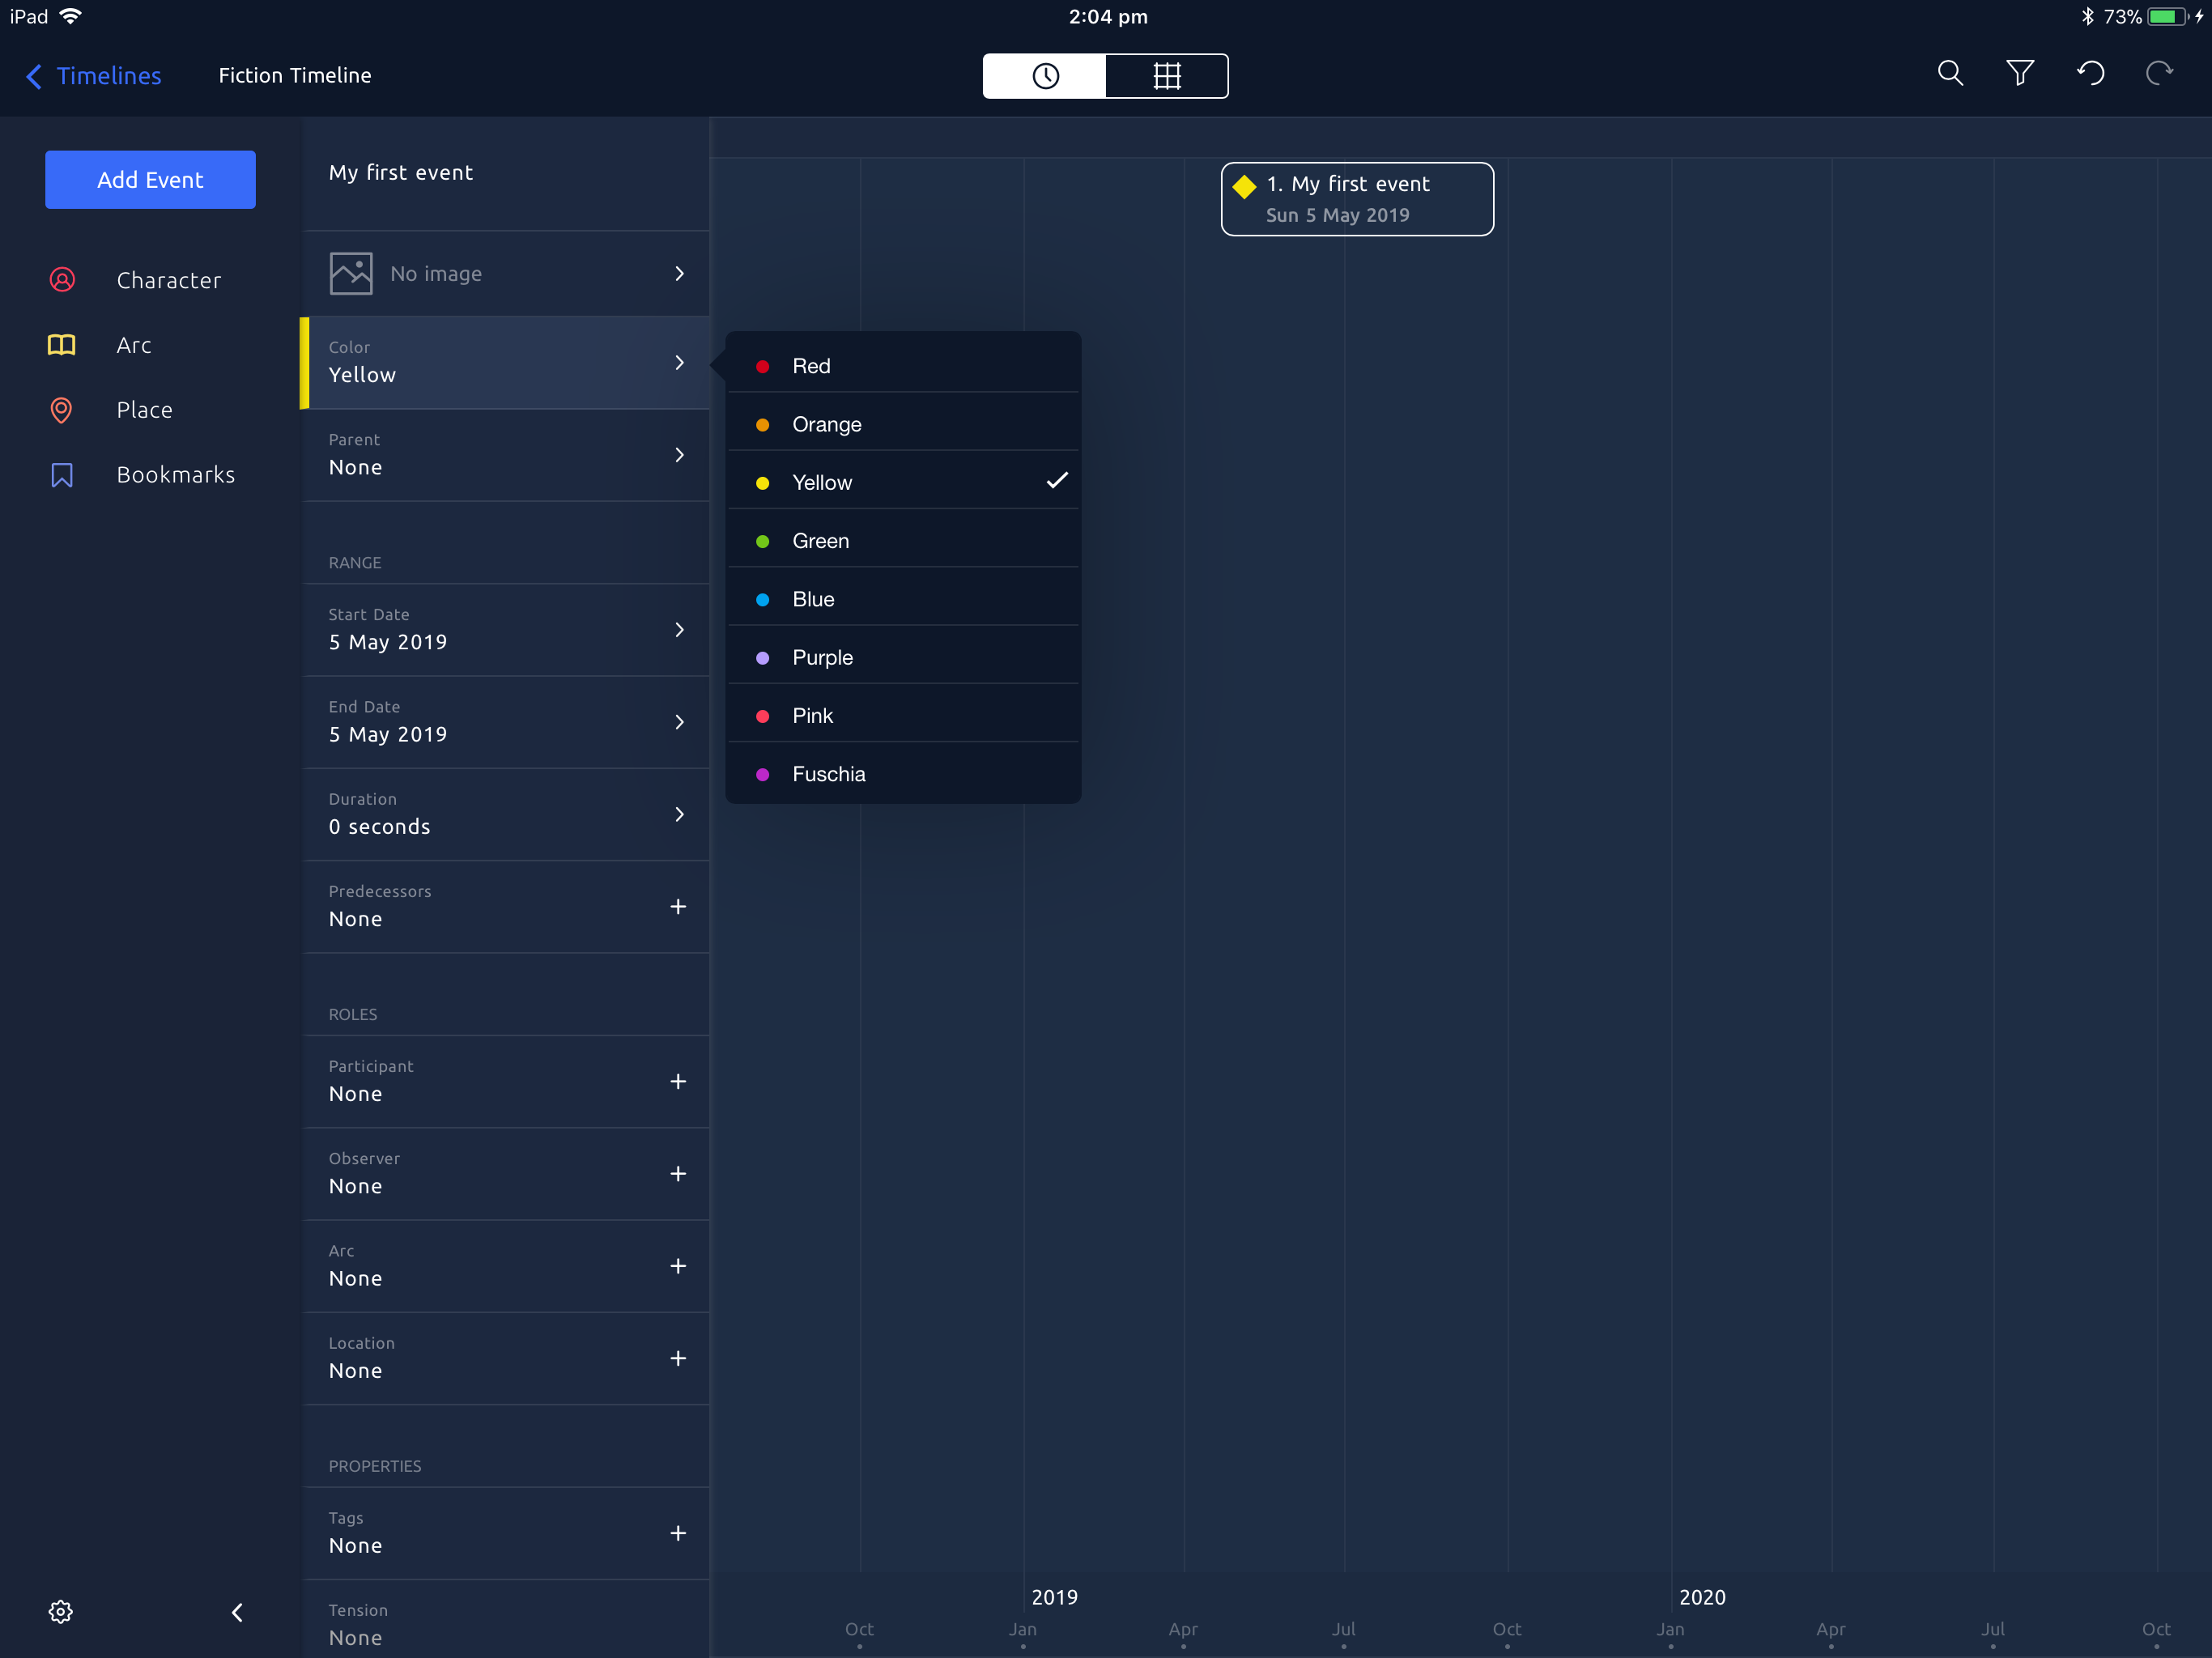 You can choose which colors are available and give them your own names in Timeline Settings.
4
Tap on the start or end date opens the calendar widget, which allows you to pick a new date range.
You can choose which colors are available and give them your own names in Timeline Settings.
4
Tap on the start or end date opens the calendar widget, which allows you to pick a new date range.
 Each event has its own precision detailing how specific its date value is. If you only want to specify a month or year, change the precision accordingly.
5
When you are done, tap anywhere on the timeline to close the inspector. All of these values can be changed again later by tapping on the event in the timeline. This will select the event and open the inspector.
Each event has its own precision detailing how specific its date value is. If you only want to specify a month or year, change the precision accordingly.
5
When you are done, tap anywhere on the timeline to close the inspector. All of these values can be changed again later by tapping on the event in the timeline. This will select the event and open the inspector.


