Creating your first timeline
The screenshots in this article applies to iOS 11 with the new Files Browser interface. For iOS 10 and below, see here
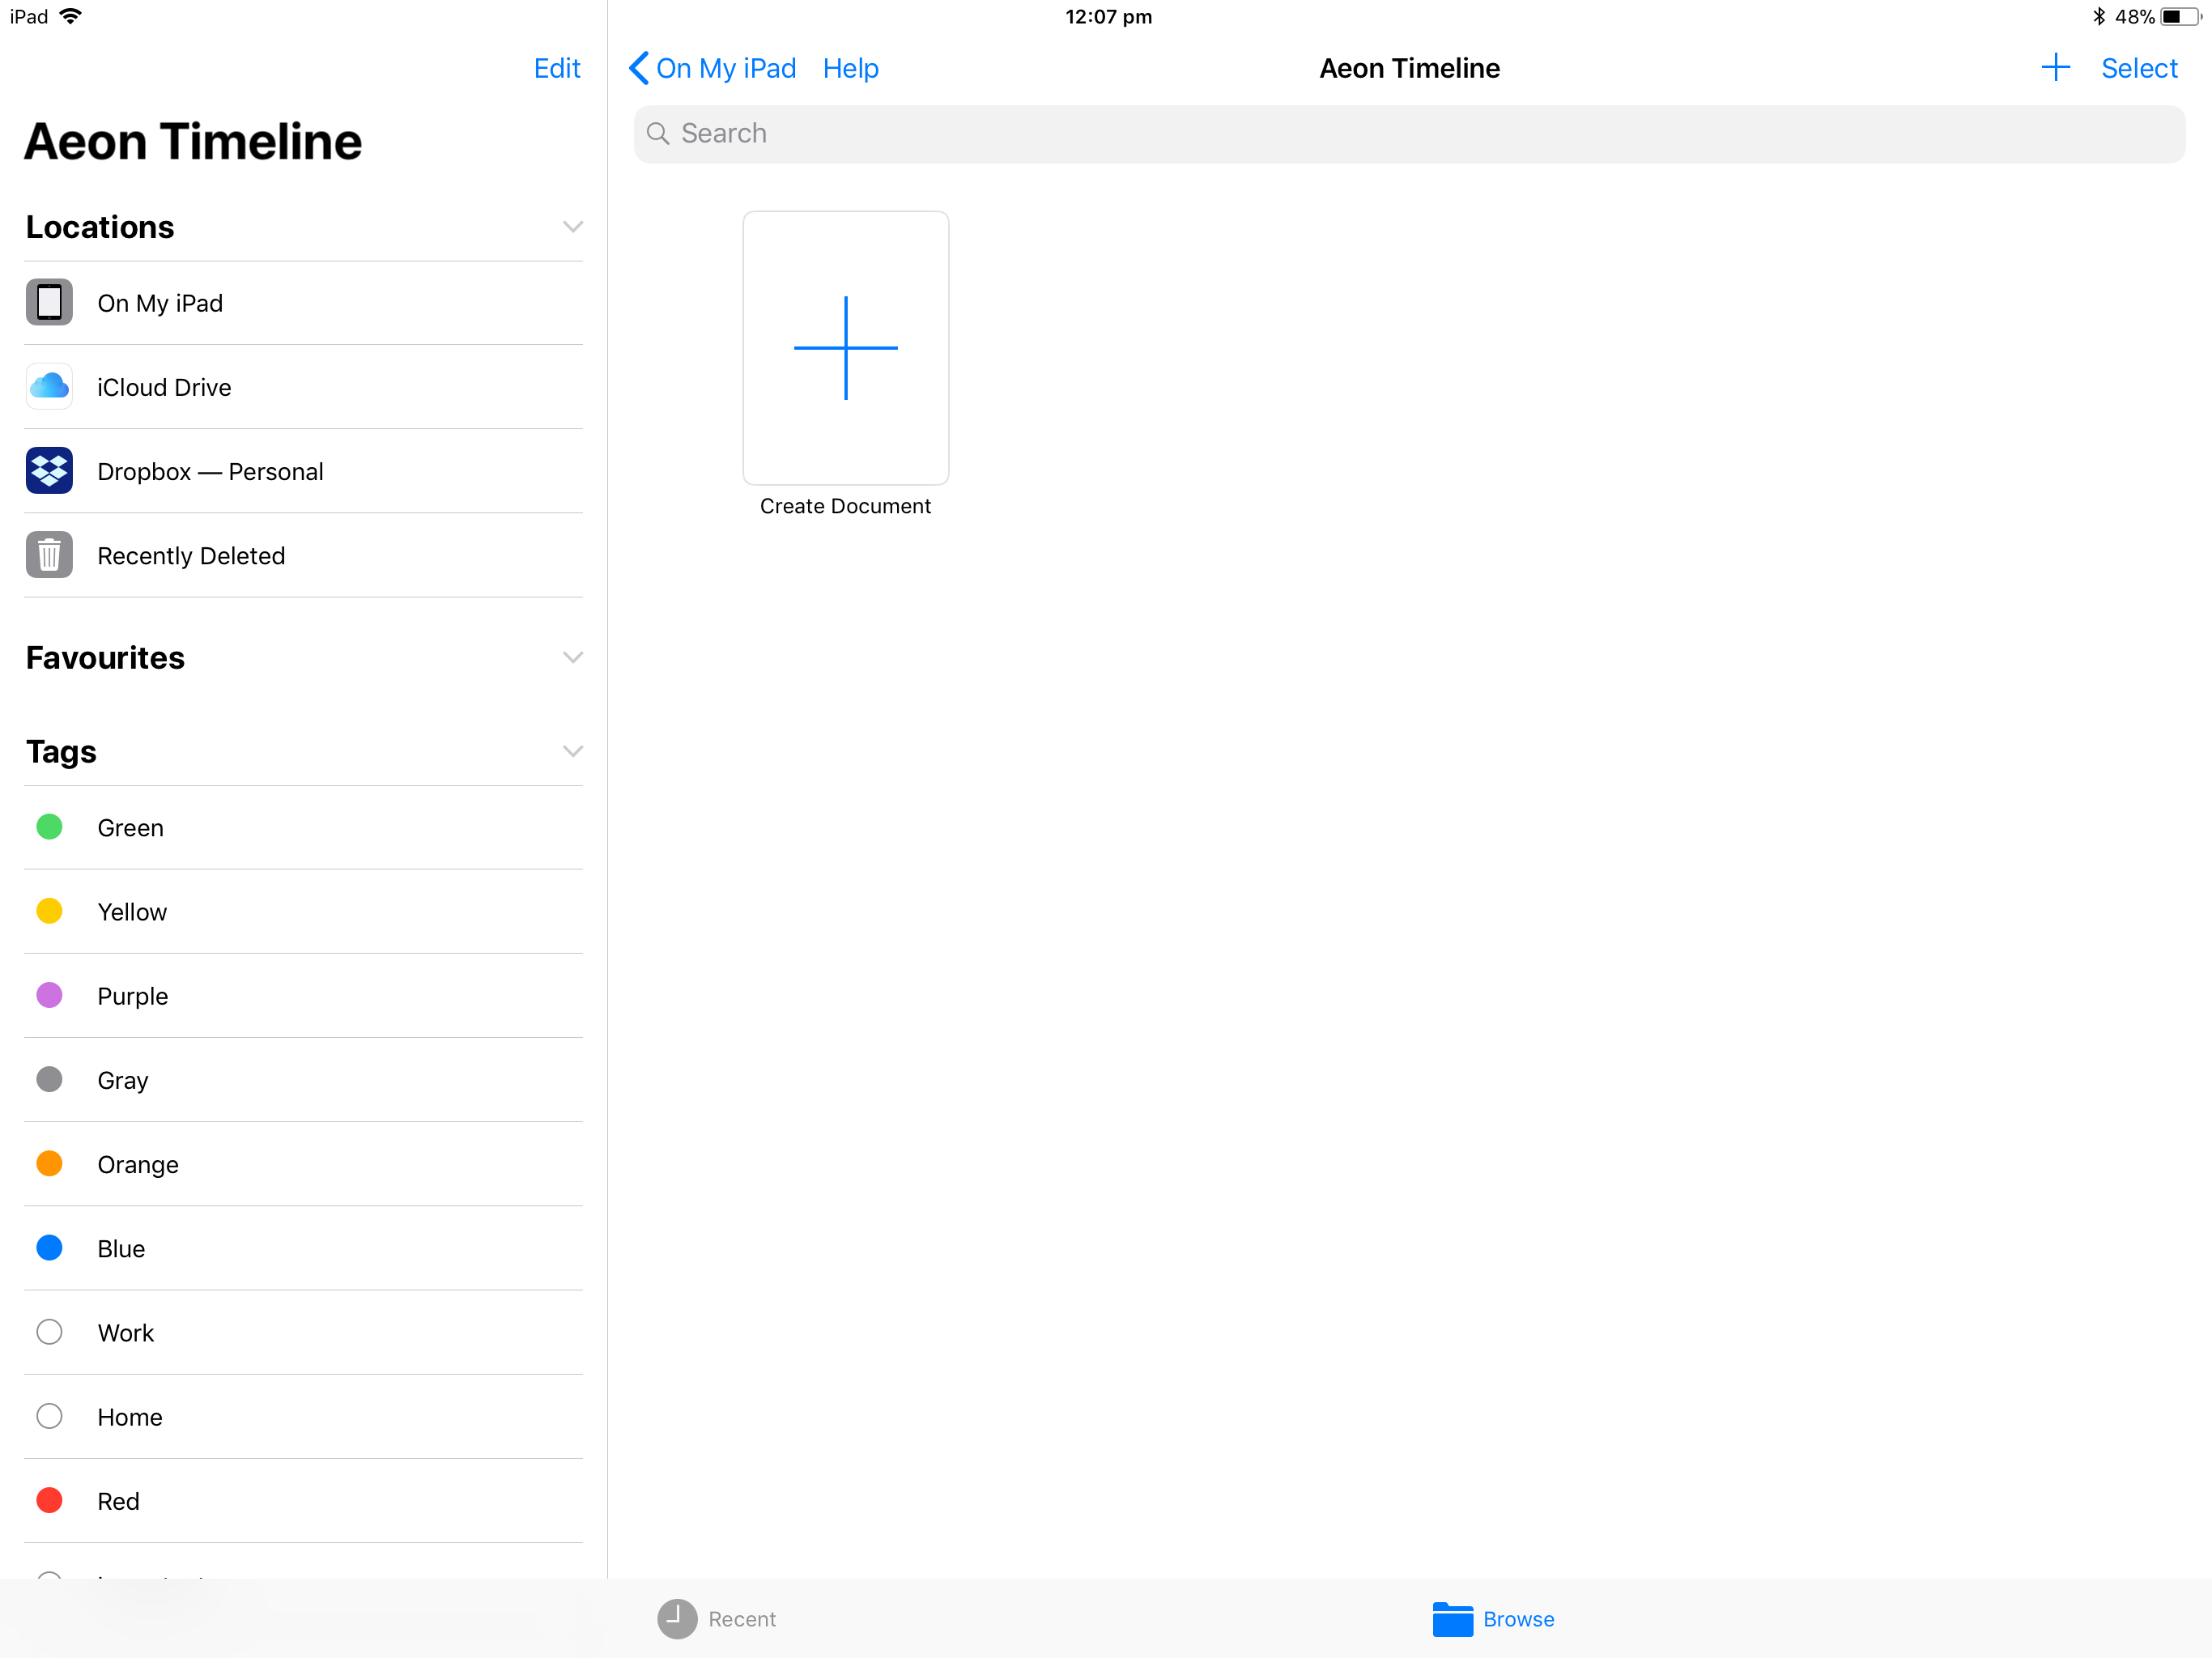
When you first install Aeon Timeline, you will be greeted with the Files Browser interface. This is what you use to organise your timeline files.
On the left lists your storage options for where you want to store your timeline file (eg. On My iPad, iCloud Drive, Drobox). The application will initially open to On My iPad in a designated Aeon Timeline folder. You can choose to create a new file in other locations by tapping on them in the Locations list.
Follow these steps to create your first timeline:
1
Tap on the Create Document to create a new Document.
2
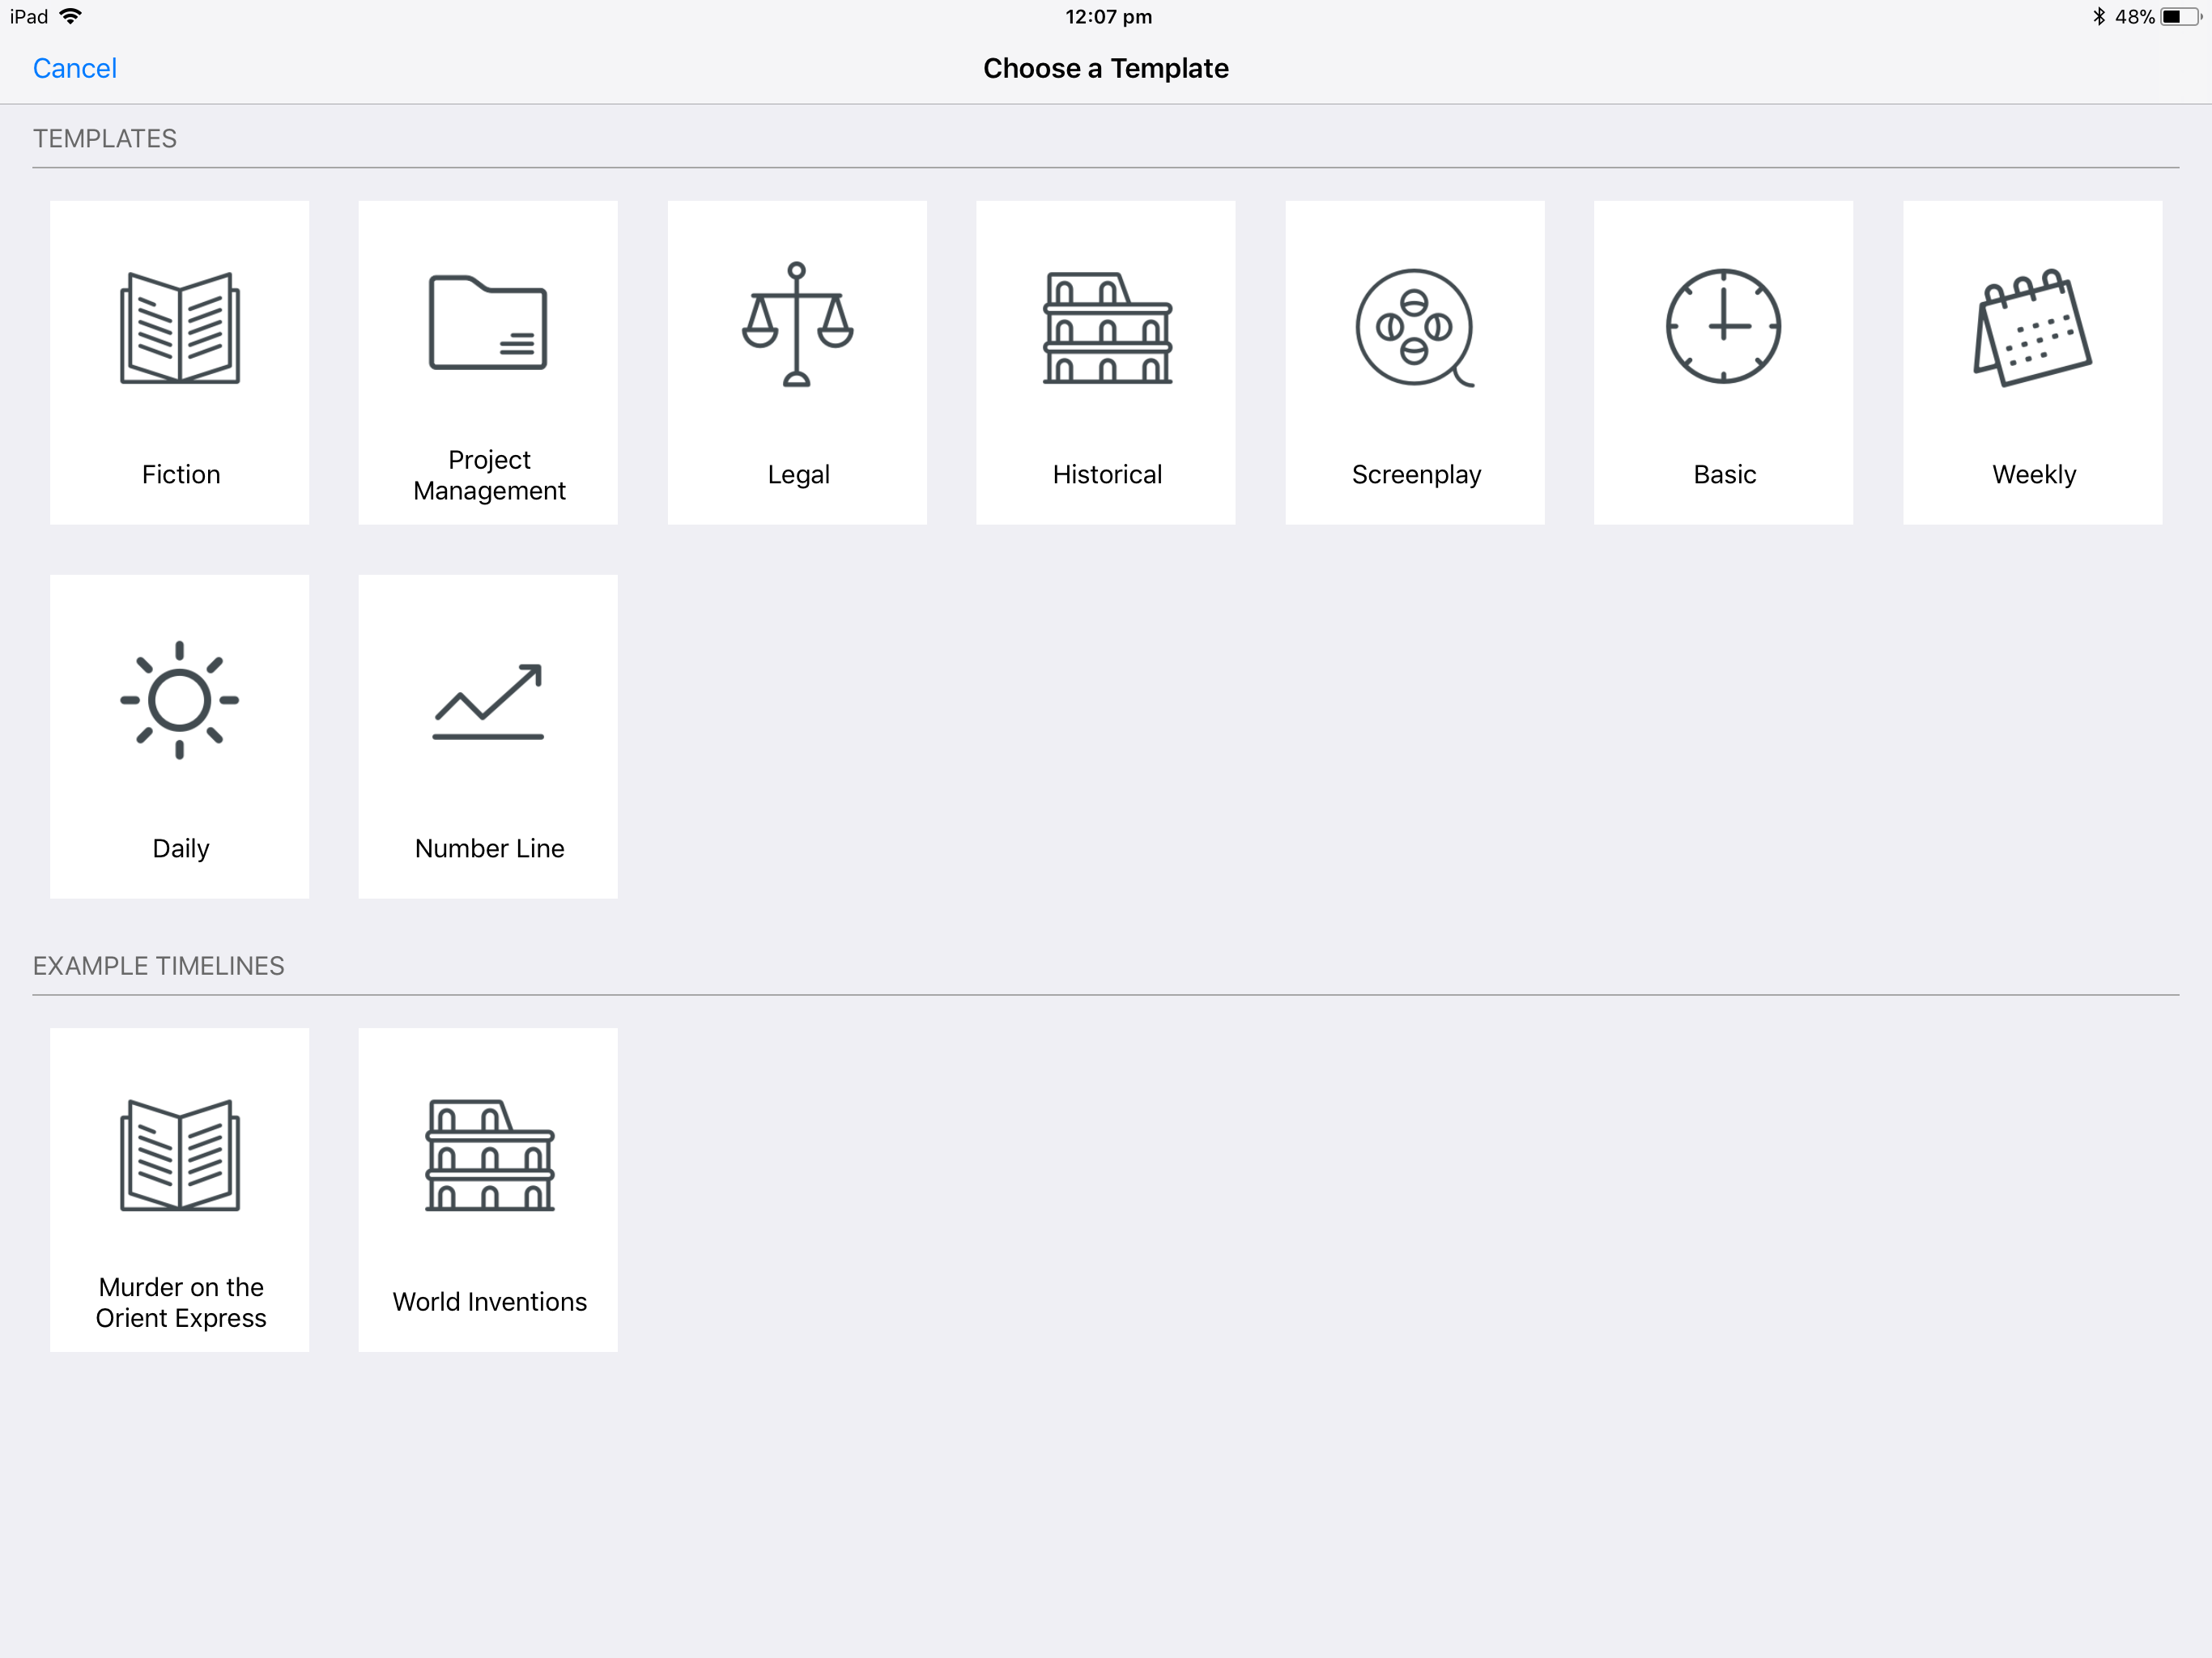
Choose from a number of pre-configured standard templates as a starting point for your new timeline. Each template uses slightly different settings, including entity types, event properties, and calendar configurations.
3
Tap on your preferred template to create a new timeline. You will be taken to the timeline screen
 4
Don’t panic, you can edit your chosen template any time! Just tap on the Settings icon at the bottom of the left-hand side bar.
4
Don’t panic, you can edit your chosen template any time! Just tap on the Settings icon at the bottom of the left-hand side bar.
 You are not likely to need to immediately change Timeline Settings when you are first getting started with Aeon Timeline. We will cover Timeline Settings in later parts of our help.


